Story about a newbie VMware EUC engineer part two: Upgrade Dynamic Environment Manager.

This story is about my work as a EUC engineer and upgrading Dynamic Environment Manager for the first time. I will talk about the Dynamic Environment Manager Enterprise 2111 ESB Release. If you don’t know what ESB means look here.
The upgrade itself is not a difficult task you only need to take the time and preparation to do it well.
For you begin download the Dynamic Environment Manager zip file and download the license file to from this location
For you begin you need to know a couple of things:
To upgrade VMware Dynamic Environment Manager you must upgrade the FlexEngine, Management Console, and the ADMX templates in the given order.
Now we can begin the Dynamic Environment Manager FlexEngine install procedure and start with the first step.
Run the Dynamic Environment Manager msi as administrator.
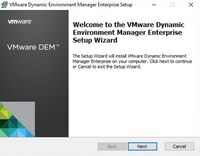
Click Next.

Select 'I accept the terms in the License Agreement' and click Next.
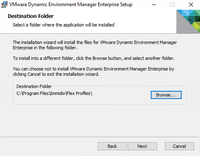
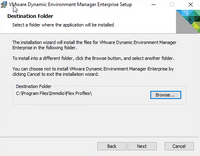
Select the installation location and click Next, I choose the default folder.
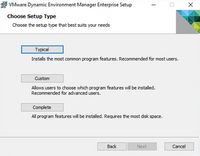
Choose setup type I use Typical. When use typical the following items will be installed: VMware DEM FlexEngine, Application Migration and Self-Support.
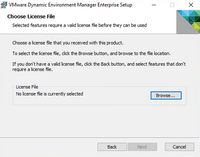
Select the license file.
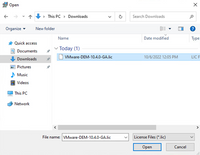
Select the Lic file and click Open.
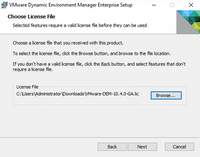
Click Next.
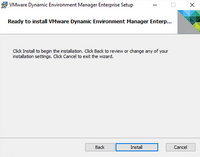
Click Install.
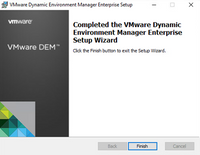
After the installation click Finish and you are done.
When u are upgrading the steps are the same you only get the Custom installation.

Click Next.
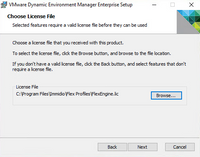
Select the Lic file and click Next.
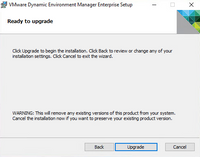
Click Upgrade.

Click Finish.
Now is the installation/upgrade for the FlexEngine is done and you can begin thinking about the console upgrade.
For you begin the Dynamic Environment Manager console upgrade you need to do a couple of things.
- Upgrade first the FlexEngine on all clients.
- Take snapshot of the management server (to be sure)
Now we can begin the Dynamic Environment Manager console upgrade.
Run the Dynamic Environment Manager msi as administrator.
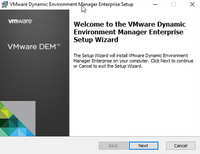
Click Next.
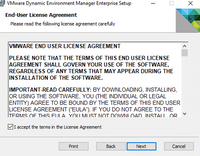
Select 'I accept the terms in the License Agreement' and click Next.
Select the installation location and click Next, I choose the default folder.
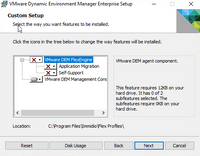
Select only the Management Console and click Next.
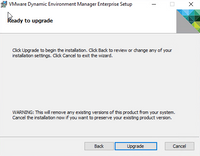
Click Upgrade.
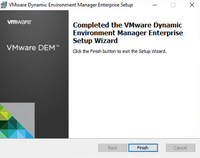
Click Finish.
Remove the snapshot if the upgrade is successful.
For you begin with the ADMX templates you need to do a couple of things.
- Upgrade FlexEngine.
- Upgrade the Management Console.
Let’s begin upgrading the ADMX templates.
Open the VMware Dynamic Environment Manager download package.
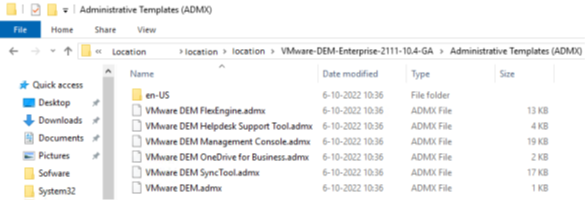
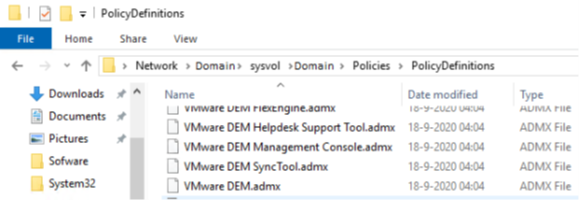
Copy the new ADMX templates from the download package to the Central Store at this location: \\<Domain>\sysvol\<domain>\Policies\PolicyDefinition.
Test your environment if the upgrade is working.
After this you successfully upgraded VMware Dynamic Environment Manager.
Additional information about the Dynamic Environment Manager upgrade:
Thank you for reading if you have a question, remarks? Please let me know!